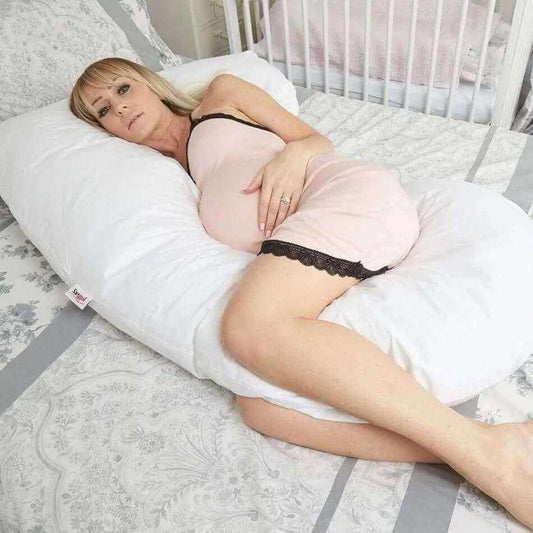
Making your own pregnancy pillow cover is a cool and personal project. It's not just about sewing a cover for your pillow; it's a chance to add your own style and make something special for yourself. Our guide is here to help you at every step, with easy instructions. From picking the right fabric to sewing it all together, we want to make sure your DIY pillow cover isn't just useful but also adds a bit of joy to your pregnancy experience.
Think of it as more than just a cover – it's like making a little piece of art that fits your vibe. The colours, how it feels, and the design you pick all add up to make your space during pregnancy feel just right. This project is about more than just getting things done; it's a way to take care of yourself and create a cozy and good-looking spot that matches your style. When you're done, your pillow cover won't just be a cover; it'll be a cool reminder of your creativity and a special part of your pregnancy journey.
Materials:
Selecting the Right Fabric:
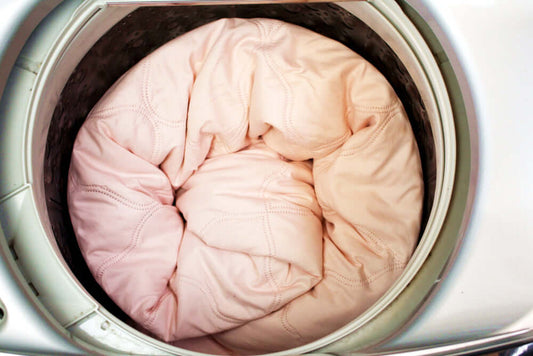
A Mix of Comfy and Strong: When it comes to picking the fabric for your DIY pregnancy pillow cover, think of it like finding the perfect mix of comfy and strong, just like your favourite pair of jeans. Consider materials like jersey knit, cotton, or flannel – they're not just cozy; they can handle some wear and tear.
Breathability is key: Also, keep in mind how well the fabric lets air through (that's breathability) and how easy it is to take care of. Before you get started, measure your pregnancy pillow to figure out how much fabric you'll need. Don't forget to add a bit extra to make room for the seams – those are the edges you sew together. It's kind of like tailoring a dress to fit just right, but for your pillow!
Choosing the Right Thread:
When it comes to the thread for your DIY pregnancy pillow cover, it's like picking the perfect partner in crime for your fabric. Go for a high-quality thread that matches the colour of the fabric you've chosen. Think of it as finding the right necklace to go with your favourite dress – you want it to blend in seamlessly and add that extra touch of charm. A good quality thread ensures that your stitches stay strong, keeping everything together. So, it's not just about the colour; it's about finding a thread that's reliable and works well with your fabric choice. It's like the trusty sidekick to your sewing adventure!
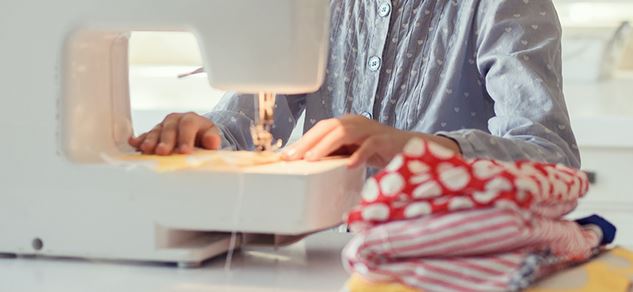
Choosing Your Sewing Method:
Deciding between using a sewing machine or hand-sewing for your DIY pregnancy pillow cover is a bit like choosing between express delivery and taking the scenic route. A sewing machine is like the speedy option – it gets the job done faster and efficiently. But, if you're feeling crafty and want a more hands-on experience, hand-sewing is a totally doable alternative. Just remember, hand-sewing might take a bit more time and effort, like deciding to enjoy the journey rather than rushing to the destination. So, whether you're opting for the express lane or taking the scenic route, the choice is yours – both methods will get you to a fabulous pregnancy pillow cover!
You’ll also need:
Scissors
Pins
Measuring Tape
Step-by-Step Guide:
- Measure Your Pregnancy Pillow:
Start by grabbing a measuring tape and sizing up your pregnancy pillow. Measure both the length and width, making sure to get accurate numbers. Imagine it's like getting the perfect fit for a custom-made jacket – precision is key.
- Add Seam Allowances:
To make sure your fabric covers the pillow snugly, add a few extra inches to the measurements. This is like leaving room for the buttons on your favourite shirt to avoid it feeling too tight. The added inches account for the seams, ensuring your pillow cover won't be too snug.
- Cut Two Identical Pieces:
Armed with your precise measurements, it's time to cut the fabric. Picture it as creating a mirrored set of pieces – just like crafting a symmetrical design. Ensure both pieces are identical to guarantee an even and polished look for your pillow cover. It's a bit like cutting out pieces for a DIY puzzle; they need to fit together seamlessly.
- Double-Check Dimensions:
Before you make the final cut, double-check that both pieces match the dimensions you've determined. It's akin to rechecking your recipe before baking – ensuring everything is in place for the perfect result. Consistency is the key to a well-fitted and visually pleasing pillow cover.
- Organize and Prep:
Once your fabric pieces are cut, take a moment to organize your workspace. Think of it as setting up your ingredients before cooking – having everything in order makes the process smoother. This prep step sets the stage for the exciting sewing phase to follow.
Stage 2: Pin the Fabric
- Aligning Fabric Pieces:
Begin by placing the two fabric pieces together, ensuring that their right sides face each other. It's like connecting puzzle pieces to reveal the complete picture – aligning the fabric sets the stage for a seamless pillow cover.
- Pinning Edges:
Carefully pin the edges of the fabric together. Picture it as creating a temporary roadmap – the pins act as guides for sewing, making sure everything stays in place. Leave one of the shorter ends open; this unsewn portion becomes the entry point for later inserting the pillow. It's like leaving an opening in a cozy cocoon, ready for the transformation.
Stage 3: Sew the Edges
- Selecting Your Method:
Decide whether you'll use a sewing machine or opt for hand-sewing. It's like choosing your preferred mode of transportation – both will get you there, but one might offer a more hands-on journey.
- Sewing Along Edges:
Using your chosen method, sew along the edges you've pinned. Think of it as connecting the dots on a drawing – the stitching brings the fabric pieces together. Be sure to leave the designated opening unsewn, maintaining the entry point for the pillow. A straight stitch works well for this, creating a reliable foundation.
- Reinforcing Corners:
Reinforce the corners by sewing over them multiple times. Imagine it as adding extra support to the corners of a well-constructed building – this ensures durability and longevity for your pillow cover. The reinforced corners contribute to the overall strength of the finished product.
Stage 4: Clip Corners
- Trimming Excess Fabric:
Carefully trim any excess fabric from the corners. It's a bit like sculpting the edges of a masterpiece – this step reduces bulk, ensuring that your pillow cover will have clean and defined corners when turned right side out. Precision is key to achieving a polished look.
Stage 5: Turn Inside Out
- Revealing the Right Side:
Turn the cover inside out through the open end, revealing the right side of the fabric. Think of it as unwrapping a present to discover the beautifully crafted interior. This step transforms the flat fabric into a three-dimensional pillow cover, ready to embrace your pregnancy pillow.
Stage 6: Insert the Pillow
- Gently Inserting the Pillow:
With your pillow cover right side out, gently insert your pregnancy pillow through the opening. It's like sliding a letter into an envelope – smooth and snug. Ensure the pillow fits comfortably within the cover, allowing for a cozy and secure embrace.
Stage 7: Close the Opening
- Folding Raw Edges:
Fold the raw edges of the opening inward for a clean finish. It's like neatly folding the edges of a letter before sealing it in an envelope – this step ensures a polished appearance.
- Pinning and Closing:
Pin the folded edges together. Whether using a sewing machine or hand-sewing, employ a neat and reliable stitch to securely close the opening. Think of it as sealing the envelope with care – the closing stitch ensures the contents (your pillow) are protected and contained.
Stage 8: Final Touches
- Thorough Inspection:
Thoroughly inspect the entire cover, checking the seams for security. It's like giving your creation a final once-over before presenting it to the world. Identify any areas that may need additional stitching to reinforce and perfect the construction.
- Reinforce as Needed:
Reinforce any areas that may need extra attention, sewing over them to ensure added security. It's akin to adding the finishing touches to a painting – these final stitches contribute to the overall strength and durability of your DIY pregnancy pillow cover. The result is a well-crafted and reliable final product, ready to accompany you on your maternity journey. Trim any loose threads to create a polished and professional appearance.
Optional: Decorate or Embellish:
Elevate your DIY pillow cover by adding personal touches. Consider sewing on buttons, incorporating embroidery, or experimenting with other embellishments to enhance the aesthetic appeal.
Customization Tips:
- Fabric Choices:
Experiment with different fabrics to achieve the desired texture and appearance. Luxurious satin can add elegance, while a playful patterned fabric injects personality.
- Colour Coordination:
Select a colour scheme that complements your bedroom or nursery decor. A harmonious palette seamlessly integrates the pregnancy pillow into the overall design.
- Contrast Stitching:
For a stylish touch, consider using a contrasting thread colour. This adds visual interest and highlights the craftsmanship of your DIY project.
- Zipper or Button Closure:
Instead of hand-sewing the opening, install a zipper or add buttons for closure. This provides a functional and decorative element to your pillow cover.
- Piping or Trim:
Enhance the edges of your pillow cover with piping or trim. This detail not only adds visual interest but also reinforces the seams and edges.
- Monogramming:
Personalize your pillow cover further by adding your initials or a monogram, turning it into a cherished keepsake.
- Patchwork Design:
Utilize fabric scraps or old garments with sentimental value to create a patchwork design, adding a unique and meaningful touch to your DIY project.
Conclusion:
Embarking on the journey of creating your own pregnancy pillow cover is not just a practical endeavour but also an opportunity to express your creativity. By following this detailed guide and incorporating personalized touches, you can craft a pillow cover that not only provides comfort during your pregnancy but also serves as a unique and cherished item. Enjoy the process of making something with your own hands, and relish in the satisfaction of a well-crafted and customized pregnancy pillow cover. May it accompany you through the special moments of your maternity journey.
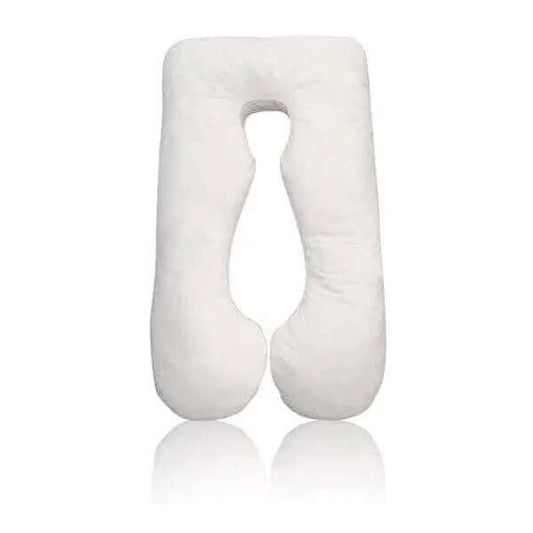
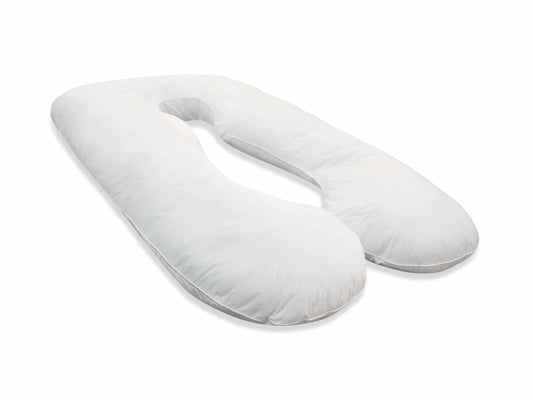
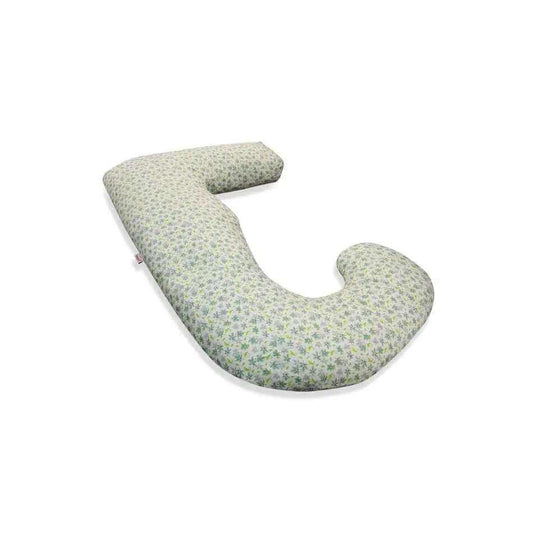
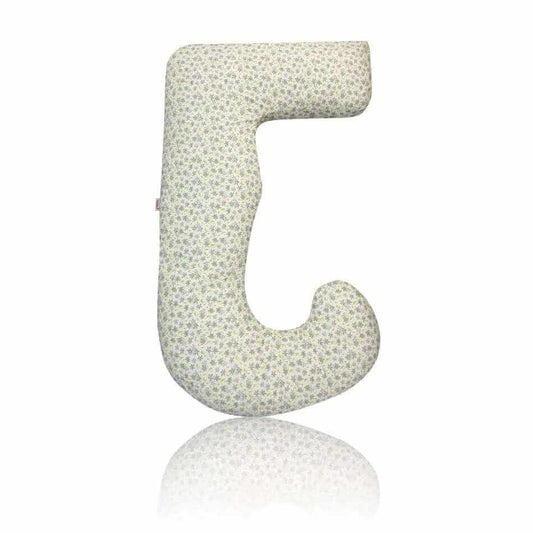
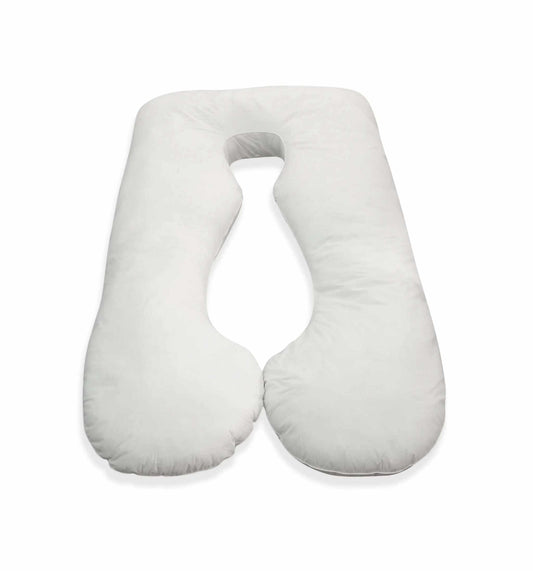
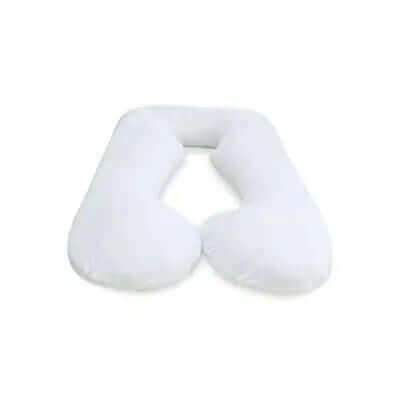
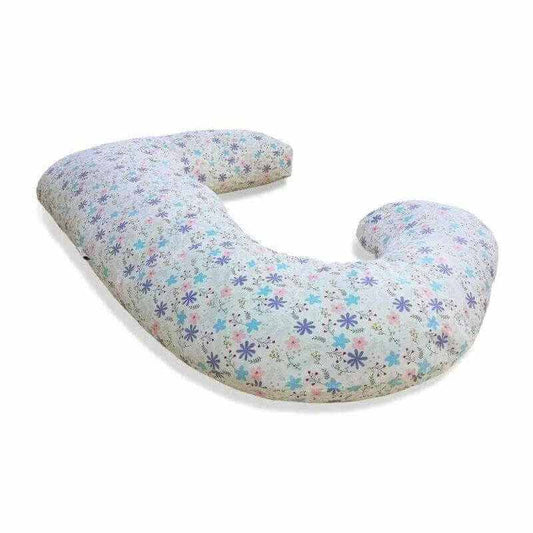
Blog Post by Sanggol Blogs | Sanggolcomfort.com. Sanggol are manufacturer and retailers of Sanggol U Body Pillows | U Pregnancy Pillows, J Pregnancy Body Pillows and C shaped Body Pillow | Nursing Pillow.